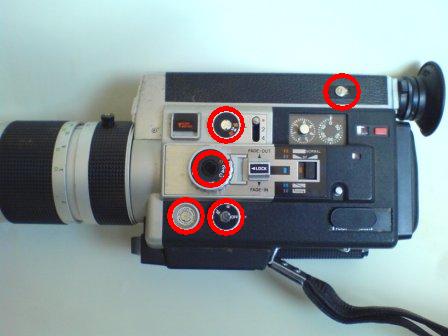
All the various nobs and switches need to be removed, except the "slow motion" switch.

Using a pointed tool and small hammer, slowly alternate between the small holes to undo the screw.
Once the screw is removed, pry the dial plate away.
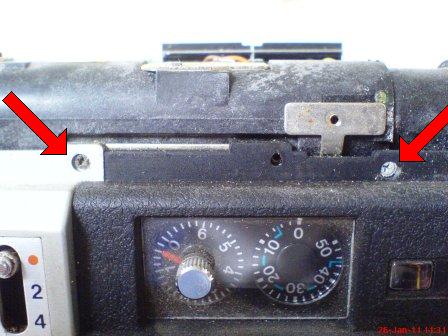
Only unscrew the screws that are indicated, removed dial base.

Again using the pointed tool and small hammer, slowly unscrew the screw holding the "on/off" dial in place.

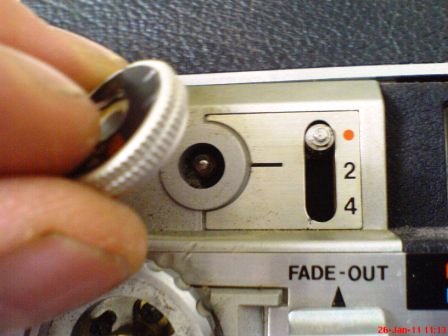
Similar to the previous step, slowly unscrew the screw holding the "exposure" dial in place.
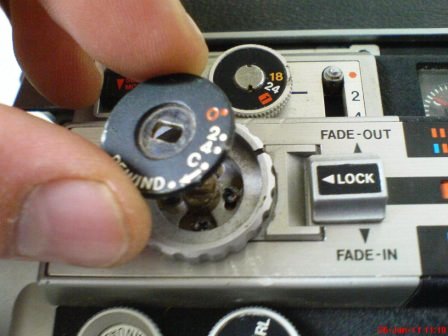
Again using the pointed tool and small hammer, slowly unscrew the screw holding the "fps" dial in place.
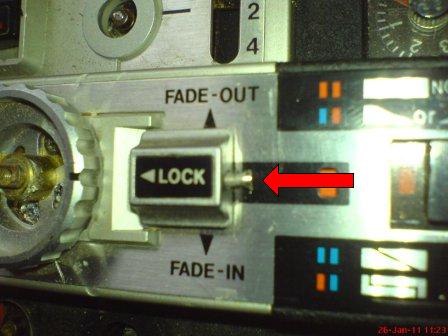
Using a small flat blade screw driver, undo the screw holding the "lock" button in place.

Then carefully remove the plate, and removed the four screws beneath.
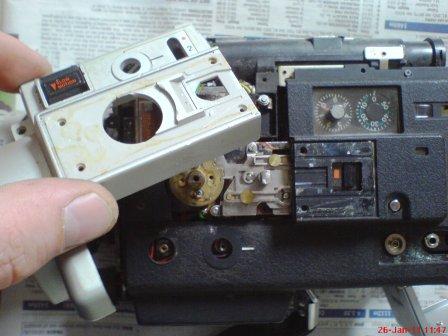
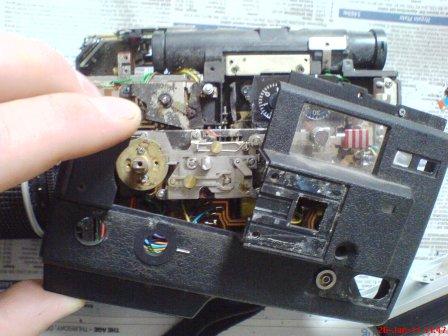
Lift away the cover carefully.
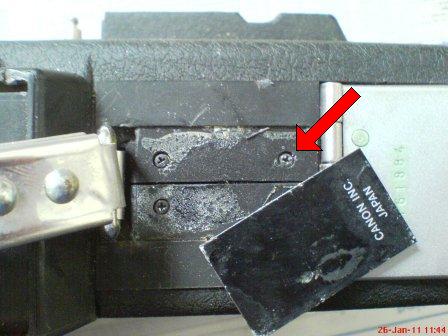
Prise off the plate at the very bottom of the camera, at the base of the wrist strap, and remove the four screws.
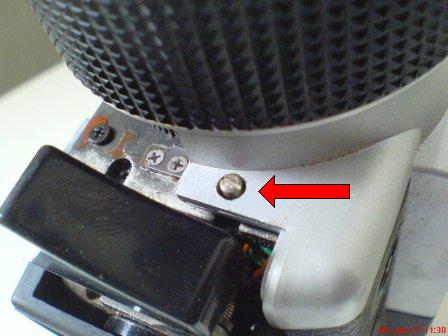
Unless you have already done so, remove the remaining screw from underneath the lens.
Remove the two screws.
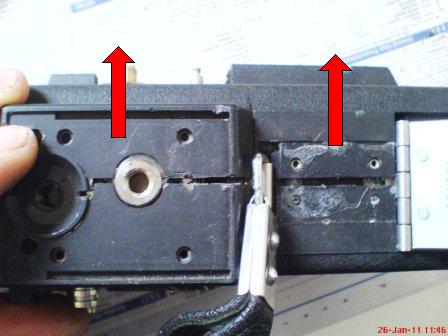
The cover can now be removed.
Be very careful when removing the cover not to lose the red battery tester button.
Take great care when either cleaning or "poking" around, circuitry will earth itself onto any tool you touch it with, possibly "burning out" sensitive wiring.
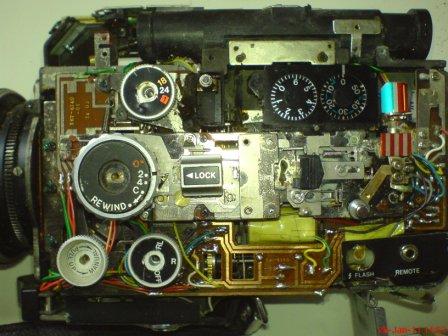
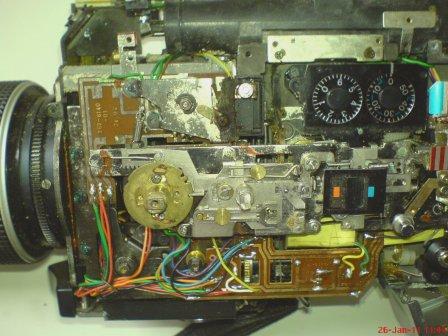
The various dials and switches have been placed back on as an indicator of where the various functions are.
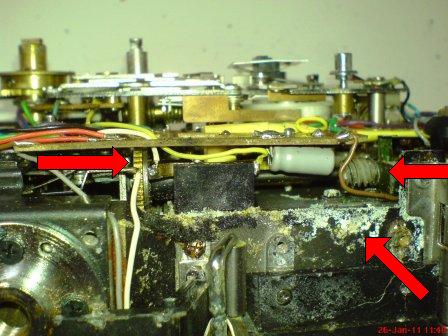
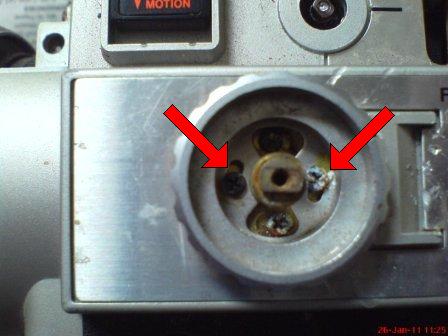
The left arrow indicates the film advance motor, if this is seized, the camera may only be good for parts. The far right arrow indicates the worm gear that drives the cartridge. The bottom arrow indicates heavy oxidisation.

Old foam will degrade quickly when exposed to liquids, in this case water or the like has entered the casing and corroded the contacts and foam.